Last Updated on October 7, 2026 by Kari-Ann Ryan
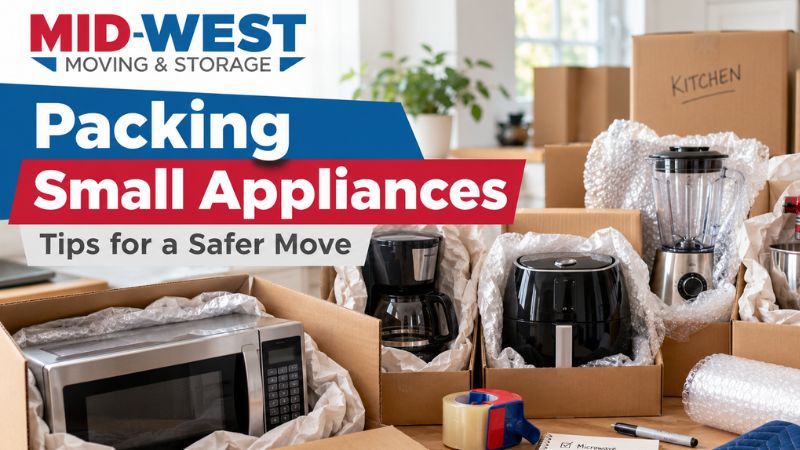
Small appliances are easy to overlook when you’re packing for a move. They aren’t as large as furniture or as obviously fragile as dishes, but they can still get damaged if they’re tossed into a box without much thought. Coffee makers have glass carafes. Microwaves have removable glass trays. Blenders and food processors have sharp blades and loose parts. Even something as simple as a toaster can get dented or scratched if it shifts around in the moving truck. Taking a little extra time to pack these items correctly can save you from having to replace them once you get to your new home.
If you’re preparing the rest of your kitchen at the same time, these tips for packing up your kitchen can help you organize dishes, food, appliances, and other kitchen items before moving day.
Here are 10 ways to pack small appliances so they’re protected during your move.
What Do You Need to Pack Small Appliances?
You don’t need anything unusual. Most appliances can be packed with the same supplies you’re already using for the rest of your home:
- Small and medium moving boxes
- Packing paper
- Bubble wrap
- Packing tape
- Towels or other soft padding
- A permanent marker
- Small bags for loose parts
If you still have the original box for an appliance, use it. The box and inserts were made to fit that appliance, so they usually provide the best protection. If the original box is long gone, choose a sturdy moving box that gives you enough room to add padding without leaving a lot of empty space.
Mid-West Moving & Storage also has a helpful packing guide and moving box recommendations if you’re unsure which cartons or packing materials to use for different household items.
1. Set Aside the Appliances You’ll Need Right Away
Think about what you’re likely to use during your first night or morning in the new home. For many people, that’s the coffee maker, toaster, electric kettle, or maybe the air fryer. A hair dryer may also be something you don’t want buried at the bottom of a moving box. Keep these items together if you can and label the box so it’s easy to find when you arrive. Something as simple as “Kitchen – Open First” works well.
You probably won’t want to unpack your entire kitchen just to make a cup of coffee the next morning. This is also a good time to think about the rest of your moving-day essentials. Our Plan Your Move guide includes additional tips for keeping important items accessible before, during, and immediately after your move.
2. Clean Everything Before You Pack It
Appliances should be clean before they go into a box. Empty crumbs from the toaster, wipe grease from the air fryer, remove coffee grounds from the coffee maker, and clean any food residue from blenders or food processors. Make sure everything is completely dry before packing it. This is especially important for appliances that hold water, such as coffee makers, kettles, steam irons, and humidifiers. Empty them well ahead of time so any remaining moisture has time to dry. Also, don’t pack an appliance while it’s still warm. If you used your toaster or coffee maker that morning, give it time to cool before wrapping it.
3. Take Out Loose Parts
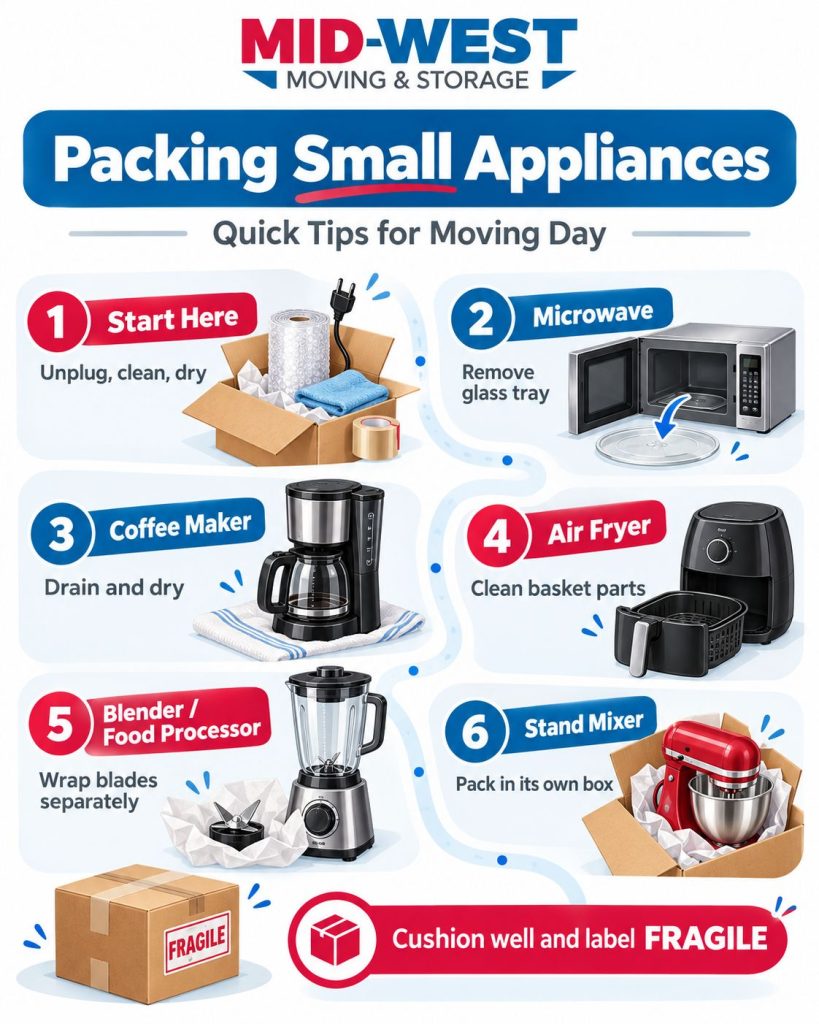
Anything that can move around inside the appliance should usually be removed before packing. Take the glass tray out of your microwave. Remove the bowl and attachments from your stand mixer. Take the pitcher and blade assembly off your blender. Wrap each piece separately. For appliances with sharp blades, such as food processors and blenders, cover the blades carefully so they don’t cut through the packing material or injure someone during unpacking. Keep all of the pieces for one appliance together. Small bags work well for attachments, screws, or other loose pieces. If you’re worried you won’t remember how everything goes back together, take a picture before taking the appliance apart.
4. Use a Box That Fits
A box that’s much larger than the appliance isn’t necessarily safer. Too much empty space gives the appliance room to move around during transportation. That’s when scratches, dents, and broken parts can happen.
Choose a box that’s slightly larger than the appliance so you have room for padding on all sides. Before using the box, make sure the bottom is secure. Add packing tape across the bottom seams, especially if you’re packing something heavy like a stand mixer or microwave. Don’t use a box that is soft, torn, or already crushed around the corners. If you’re packing the rest of your home yourself, our moving and packing tips include more advice on choosing boxes, protecting belongings, and preparing cartons for moving day.
5. Empty Water, Batteries, and Anything That Could Leak
Check each appliance before you wrap it. Empty water reservoirs, drip trays, and other containers. If an appliance has removable batteries, take them out before packing when appropriate. You also don’t want bottles of cleaning products, oil, or other liquids packed loosely in the same box as an appliance. One leaking bottle can ruin the box and damage whatever is packed inside it.
6. Wrap Each Appliance Separately
Start with packing paper around the appliance. If it has a delicate finish, glass parts, or areas that stick out and could easily get damaged, add bubble wrap for more protection. Try not to put packing tape directly on the appliance. Tape can leave residue or damage certain finishes. Tape the packing material instead. Don’t forget about the cord. Coil it loosely and secure it so it isn’t hanging around inside the box where it can scratch other items. If the cord comes off completely, put it in the same box with the appliance.
7. Add Padding to the Bottom of the Box
Before placing the appliance in the box, add a layer of packing paper, bubble wrap, or a folded towel to the bottom. This gives the appliance extra protection from bumps and movement during the move.
Once the appliance is in the box, add padding around the sides as well. Appliances with glass or fragile plastic parts may need extra cushioning to keep those pieces protected.
8. Put Heavier Appliances on the Bottom
You can pack more than one small appliance in the same box, but the weight should be distributed carefully. Place the heaviest appliance on the bottom and lighter items on top. Make sure each appliance is wrapped and separated with enough padding to prevent them from rubbing against or hitting each other. Heavier appliances, such as stand mixers or larger air fryers, are often better packed in their own boxes. If a box becomes too heavy to lift comfortably, use another box instead of adding more items.
9. Fill the Empty Spaces
After the appliances are packed, fill any open spaces with crumpled packing paper, bubble wrap, or another cushioning material. Gently move the box from side to side before sealing it. If you can hear or feel the appliances shifting, add more padding. The goal is to keep everything secure without packing the box so tightly that pressure is placed on glass or other fragile parts.
10. Label the Box Clearly
Once the box is packed, seal it securely with packing tape and label it clearly. Instead of simply writing “Kitchen,” include a few details about what is inside.
For example:
Kitchen – Coffee Maker, Toaster and Blender – Fragile
A more detailed label makes it easier to find the appliances when you arrive at your new home and helps the moving crew know that the box should be handled carefully. If the box contains an appliance that should remain upright, add “This Side Up” to the label as well.
Packing Different Types of Small Appliances
Some appliances need more attention than others. The biggest risks are usually loose parts, leftover water, glass pieces, sharp blades, and boxes that are too large. Before packing any appliance, unplug it, clean it, let it dry, and remove anything that can come loose during the move.
Microwave
Take the glass turntable and roller ring out before packing the microwave. These pieces can move around and break if they are left inside. Wrap the glass tray separately with packing paper or bubble wrap and place it upright in the box rather than flat underneath the microwave. Wipe out the inside of the microwave and secure the cord so it does not drag or scratch the appliance. If you do not have the original box, choose a sturdy box that is only slightly larger than the microwave. Add padding underneath, along the sides, and across the top so the microwave cannot shift. Do not place heavy boxes on top of it during the move.
Coffee Maker
Coffee makers often hold more water than people realize. Empty the reservoir, remove the filter basket, drip tray, reusable filter, and any pods or coffee grounds. Tilt the machine carefully over the sink to check for water that may still be inside. If the coffee maker has a glass carafe, remove it and wrap it separately. Add extra protection around the handle, rim, and bottom. Let the coffee maker dry before putting it in a box. If you are packing several days before the move, leave the lid or reservoir open for a while so moisture can escape. Keep the carafe, filters, and other pieces in the same box so they are easy to find later.
Air Fryer
Air fryers can hold grease and crumbs in places that are easy to miss, especially around the basket, tray, and heating area. Clean and dry the appliance before packing it. Remove the basket, rack, crisper plate, and any other removable parts. Wrap those pieces separately so they do not bang against each other inside the box. Larger air fryers can be heavier than expected, so avoid packing them with dishes or glassware. If the box already feels heavy after the air fryer is inside, give it its own box.
Blender or Food Processor
Take the appliance apart before packing it. Remove the pitcher or bowl, lid, blades, discs, and attachments. Keep all of the parts together so you are not searching through several boxes later. Sharp blades should be wrapped carefully. Cover the cutting edges with several layers of packing paper or another protective material before wrapping the entire piece. If the blender has a glass jar, give it the same protection you would give drinking glasses or other breakable kitchen items. Do not pack a heavy blender base directly against the jar. Put padding between them.
Stand Mixer
Stand mixers are heavy and can easily crush lighter items packed in the same box. Remove the bowl, beater, whisk, dough hook, and any other attachments. Wrap each part separately. If the mixer head locks into place, secure it before packing. Wrap the mixer to protect the finish and controls, then place it in a strong box with padding underneath and around the sides. A stand mixer should usually have its own box. Before sealing it, lift the box to make sure it is still comfortable to carry. A box that is too heavy is harder to handle and more likely to be dropped.
What If You Do Not Have the Original Appliance Box?
You do not need the original box to move an appliance safely. Choose a sturdy box that leaves a few inches of space around the appliance for padding. A box that is much too large is not better because it gives the appliance more room to slide around. Put a layer of cushioning on the bottom first, place the appliance in the center, and fill the space around all four sides. Add padding across the top before closing the box.
If the box has been used before, check the bottom and corners. Reinforce the seams with packing tape if there is any doubt about the strength of the box. For more information about the types of cartons commonly used during a household move, see our packing materials and box guide.
Can You Pack Small Appliances With Dishes?
It is usually better to keep them separate. Small appliances are heavier and have hard edges that can crack plates, glasses, or bowls if the box shifts. If you need to combine items because you are short on boxes, only pack lightweight appliances with sturdy kitchen items. Keep glassware and delicate dishes in their own boxes. Never put a heavy appliance on top of plates or glasses.
What Should Go in an Open-First Box?
Think about what you will need before the rest of the kitchen is unpacked. That may include a:
- Coffee maker
- Toaster
- Electric kettle
- Couple of mugs
- Basic utensils
- Paper towels
- Phone chargers
- Hair dryer
Keep this box separate from the rest of your kitchen boxes and label it on more than one side.
“Kitchen Essentials – Open First” is much easier to spot than a box that simply says “Kitchen.”
Once you arrive, our unpacking checklist can also help you decide what to unpack first and how to work through the new home without opening every box at once.
How Do You Know If the Box Is Packed Well Enough?
Before sealing the box, gently move it from side to side. You should not hear glass tapping, loose parts moving, or the appliance sliding around. If something shifts, add more packing paper or cushioning around that area. Also check the weight. If the box is difficult to lift safely, split the contents between two boxes. Once everything feels secure, tape the top and bottom seams and label the box with both the room and the contents.
For example:
- Kitchen – Coffee Maker and Toaster – Fragile
- Specific labels make unpacking much easier.
A Few Small Appliance Packing Mistakes to Avoid
A few common mistakes can lead to broken appliances or a frustrating unpacking day.
- Do not leave glass trays or loose attachments inside an appliance.
- Do not pack coffee makers or kettles while they still contain water.
- Avoid putting tape directly on the finish of an appliance, and do not use a large box without filling the empty space.
- It is also worth checking appliance boxes before they are loaded onto the truck. If you can hear anything moving inside, fix it before the box leaves the house.
- If you’re still working through the rest of your moving preparations, use our checklist before moving out to make sure important tasks don’t get overlooked.
Need Help Packing for Your Move?
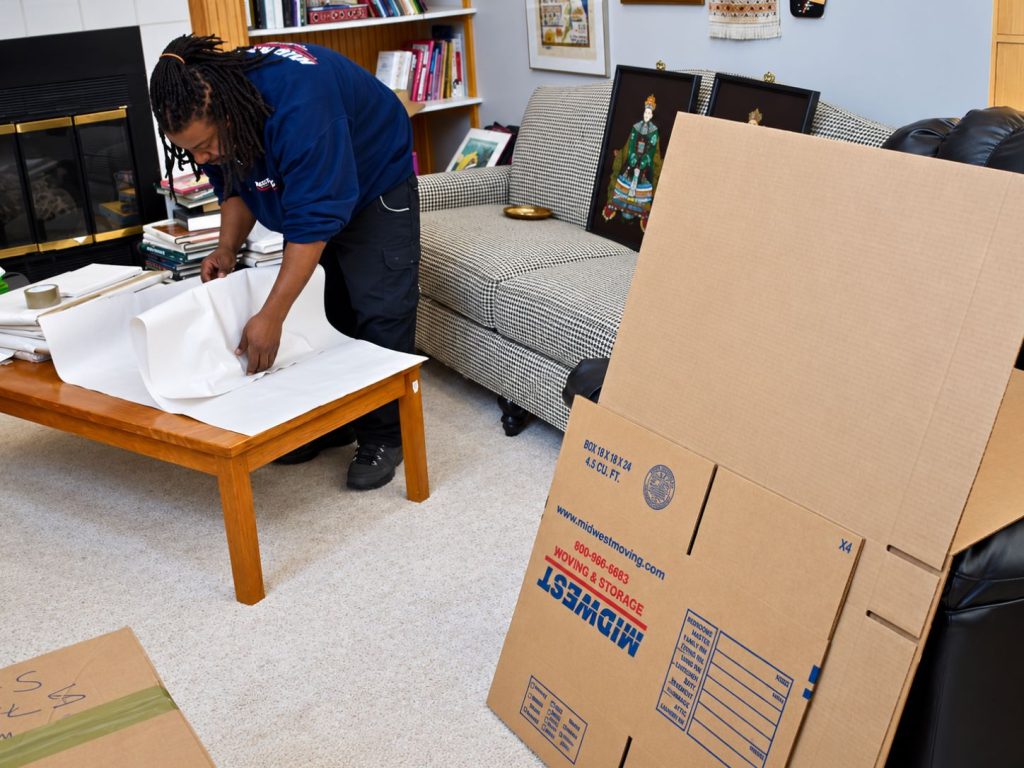
The kitchen can be one of the slower rooms to pack because everything needs different handling. Appliances are heavy, dishes are fragile, and many items have loose parts that need to stay together. Mid-West Moving & Storage provides professional packing services for homeowners throughout Elk Grove Village, Chicago, and the surrounding Chicagoland area. We can pack the entire home or help with the items you would rather not handle yourself, including kitchen appliances, dishes, artwork, antiques, and other fragile belongings. Mid-West Moving & Storage has been helping families and businesses move since 1983.
Get a Free Estimate
Planning an upcoming move? Contact Mid-West Moving & Storage at 847.593.7201 or fill out our contact form to request a free moving estimate. Our team can help with packing, local moving, long-distance moving, storage, and other services needed for your relocation.

Senior Move Consultant | Mid-West Moving & Storage
Michael Tae is a Senior Move Consultant at Mid-West Moving & Storage, bringing over 20 years of experience in the moving industry, specializing in residential and commercial moving solutions. Since joining Mid-West Moving & Storage in 2019, Michael has helped countless clients navigate their moves with confidence by providing expert guidance, personalized planning, and a customer-first approach.
As a leader of the inside sales team, Michael works closely with homeowners, businesses, and families to ensure every move is organized, efficient, and stress-free. His calm communication style and industry knowledge help clients make informed decisions throughout the moving process.
A lifelong Chicago native, Michael understands the unique needs of individuals and businesses moving throughout the Chicagoland area. Outside of work, he enjoys spending time with his wife and two children.
Michael shares his moving expertise through Mid-West Moving & Storage’s blog, providing helpful insights on residential moving, commercial relocations, senior moves, packing tips, and planning a successful move.